Wednesday, March 17

mark making on masking tape.

same pretense as post below except i printed onto masking tape and covered it in masking fluid beforehand which has made it sort of more abstract and merge more together.


this is the image above except when i scanned in i turned the masking tpae back to front and i really like the effect this has given it. also like how both images look composistionally.

mark making.

product of messing about with paint, water and ink. quite experimental brush strokes and pen dabs. especially like the one with writing underneath and the way it comes through. could possibly make a brush of this or put over the top of something. could experiment with more colours...

photocopy scans.

i decided to scan these after getting some photocopies done and seeing the sort of repitive patern it made when the top section of the book was also copied. i like the tone and depth created and thought that perhaps i could incorperate these into an image, even if it is just for the shape.


this obviously happened by accident but i liked the effect that fact its only half visable and thought it fitted well with my other two scans (above.)

digital negative.


i made my digital negative by first getting a digital file and desaturating the image, to make it change from colour to black and white. after this i used the curve tool to make sure the image had an even tonal range and good contrast.

then i made a new document, 'customs' and made it 8'10. i used the paint bucket tool to make the bottom layer completely black. select all of my orignal image and moved it on top of my new black one. then used the 'transform' tool with shift to make it to a sufficent size, lastly alligned the image so that it was compeletly in the middle.

the next step was to print the image on aesitate and then cut around the black border area. before going in the darkroom also had to make a frame to sit around the outside.

once in the darkroom used a large piece of glass ontop of the negative - to stop it from moving and creating light leaks (paper went underneath.) the rest normal darkroom porcedure.


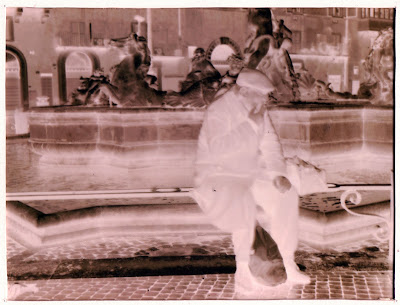
final image was exposed for 12 seconds with grade 5. decided to keep the dust on it as felt it added to the quality of the image and could make it even more interesting in later editing stages.

contacts.

people.


objects.


buildings.

brief.