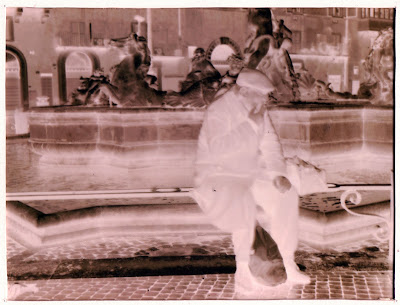
i made my digital negative by first getting a digital file and desaturating the image, to make it change from colour to black and white. after this i used the curve tool to make sure the image had an even tonal range and good contrast.
then i made a new document, 'customs' and made it 8'10. i used the paint bucket tool to make the bottom layer completely black. select all of my orignal image and moved it on top of my new black one. then used the 'transform' tool with shift to make it to a sufficent size, lastly alligned the image so that it was compeletly in the middle.
the next step was to print the image on aesitate and then cut around the black border area. before going in the darkroom also had to make a frame to sit around the outside.
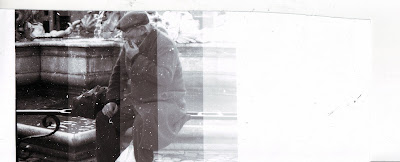
once in the darkroom used a large piece of glass ontop of the negative - to stop it from moving and creating light leaks (paper went underneath.) the rest normal darkroom porcedure.

final image was exposed for 12 seconds with grade 5. decided to keep the dust on it as felt it added to the quality of the image and could make it even more interesting in later editing stages.


No comments:
Post a Comment